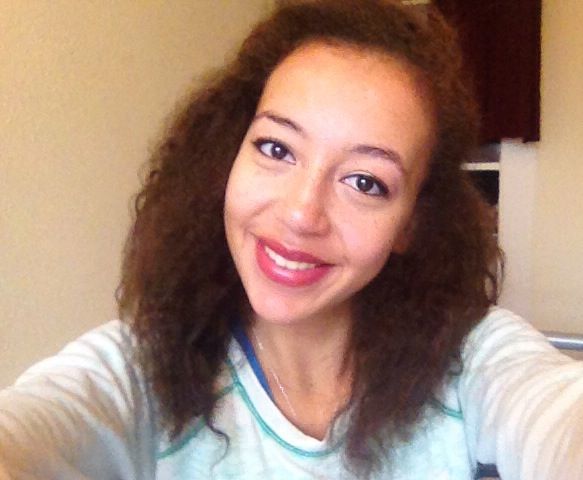
I thought this would give me a chance to review a few of the things in the collection, as well as seeing what kind of look I could create.
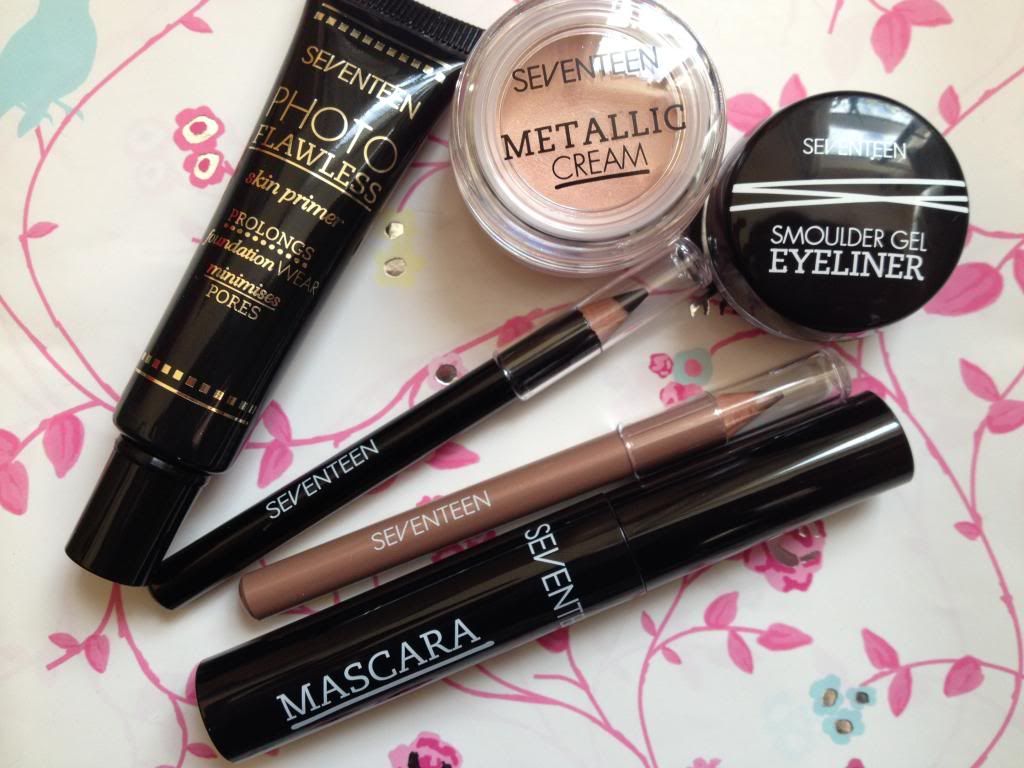
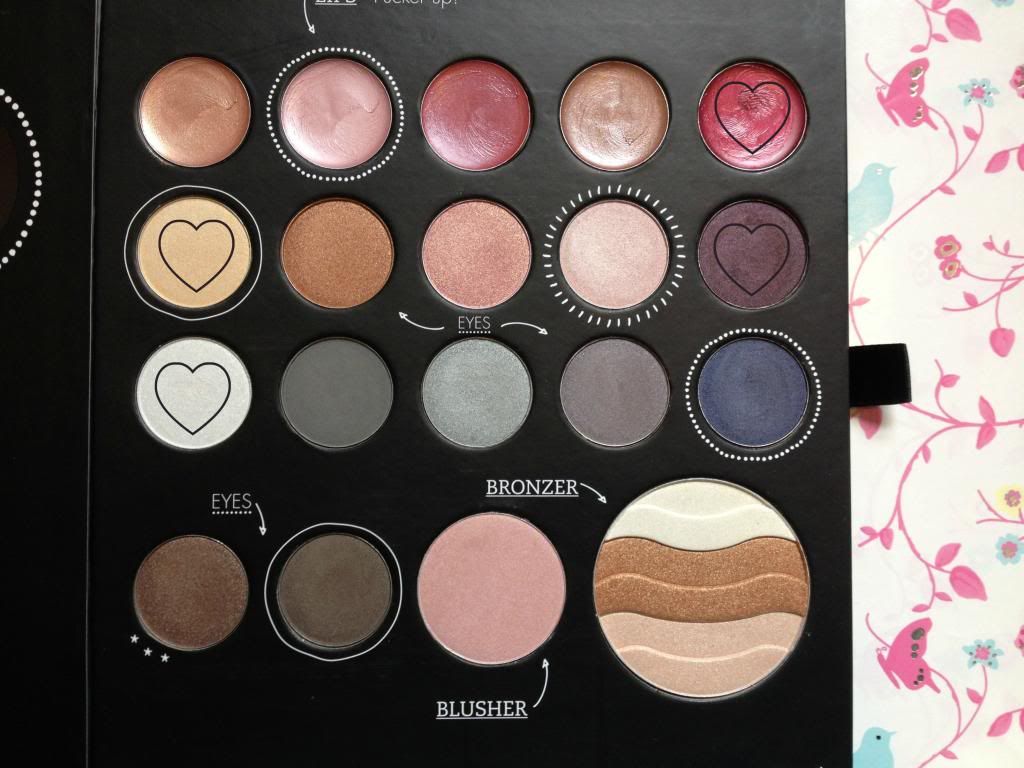
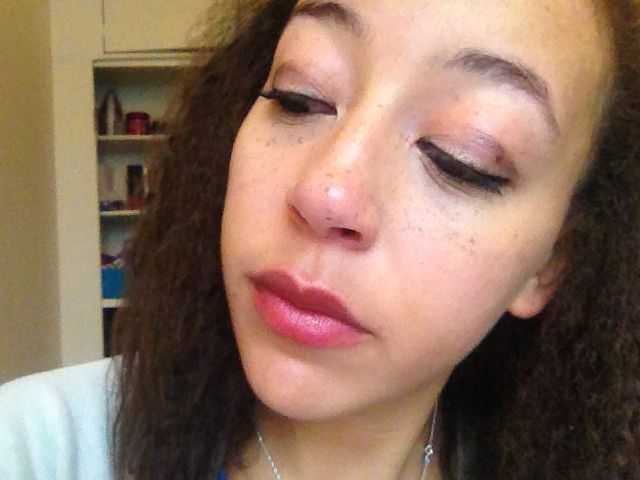
Base done, I moved onto eyes. I used the Metallic Cream as a base. On first glance, I thought this would be too pink toned for my eyes but when applied, it gives a cream sheen to the eyes with a slight shimmer. Ther plan was to create a neutral cream and brown eye look, but I changed my mind on whim. I applied the golden shade on the left all over lid but found this to be too yellow for me. To counteract this, I applied the silver over the top of it to make it more creamy. I then blended the purple shade in the outer corner and through the crease. This is a colour I would never reach for but found myself drawn to it because it was so autumnal looking! I then blended...and blended and blended. I blame my over blending on the fact that this is a colour I would never wear usually and consequently was trying to avoid the 'I just got punched in the face' look. However next time, I would definitely leave the colour more vibrant.
I then applied the Smoulder Gel Eyeliner with an angled brush to my top lashes. I've been loving a cat eye flick recently but because this was my first time using a brush to apply my eye liner, I played it safe (not too shabby application, if I do say so myself!).
The product I was most looking forward to using was the coffee eye pencil. When swatched, this came up as a gorgeous gold. This did not translate in the waterline unfortunately. I drew, scratched and scraped at it but couldn't even get the slightest hint of colour. I applied the black instead, which came out grey, much to my disappointment. It seems my initial thoughts of the pencil eyeliners being duds were right.
To finish the eyes, I added mascara. I really didn't like the brush on this initially, it looks like a thick spooley, but it grew on me. It lengthened my lashes further but really its volume that I need, as my lashes are already quite long. This is a good mascara but doesn't do the job I need it to.
For lips, I used Very Berry, which I really liked as it's quite a subtle berry tone. Nothing too vampy. I really liked the look overall but would go easier on the blending next time. I've practically rubbed the shadow off! The possibilities with this kit is endless so I'm sure you'll hear more about it.
What did you think of the look I created? What would you have done?


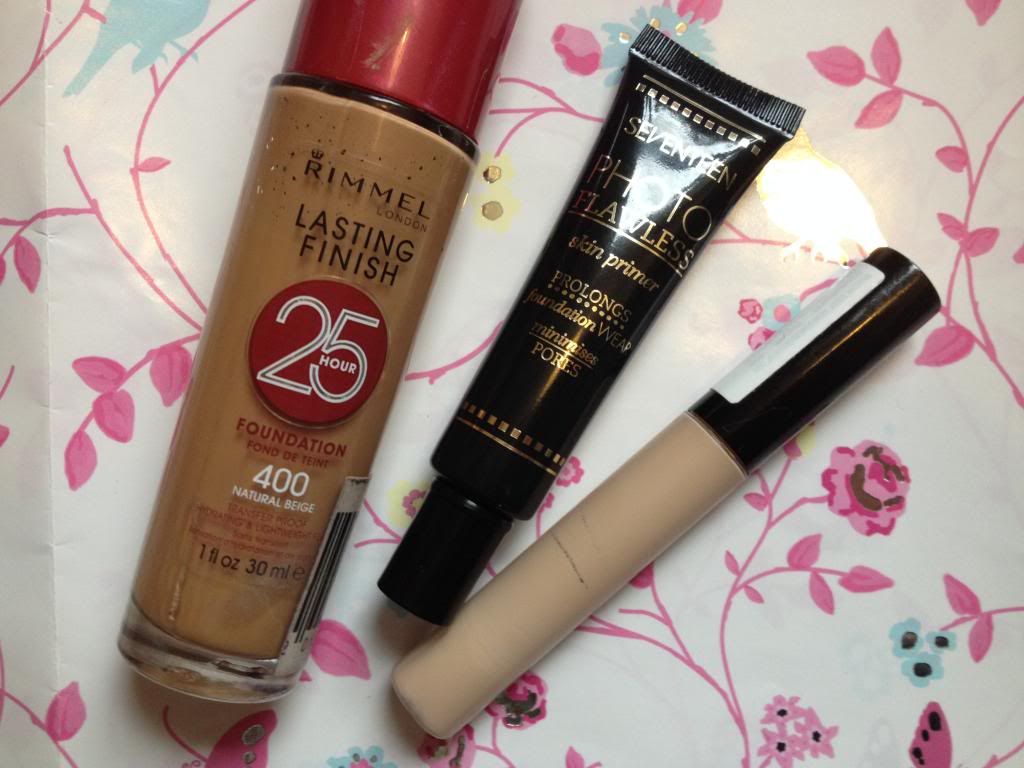

I love Rimmel's 25 Hour Foundation! It's my ultimate favourite foundation :) Love all your products, you look lovely
ReplyDeletexx
Lauren from Stylingo
Same! I could live with this foundation alone. Thank you Lauren!xx
Delete