Page buttons

 photo Homebutton1_zpsbe1baaf1.jpg  photo Aboutbutton1_zps202b67d2.jpg  photo Contactmebutton_zps4f1870f8.jpg  photo Disclosurebutton_zps2c5d5dcf.jpg
Showing posts with label how to. Show all posts

Friday, 11 July 2014

HOW TO: Frozen Lemon Slices

 photo frozenlemonslices_zps2cd68393.jpg

Now I may be telling you how to suck lemons (see what I did there?) but sometimes even the obvious needs pointing out. My mum has been telling me for ages that water with a hint of lemon curbs cravings (I've got the biggest sweet tooth) but when I buy a lemon, it always goes to waste. A week later and I'll find a shrivelled lemon half, all forgotten in the fridge after I made the first (and last) drink. I've been seeing a lot of 'healthy waters' round the internet and you could do this with any fruit so here it is, the how to!
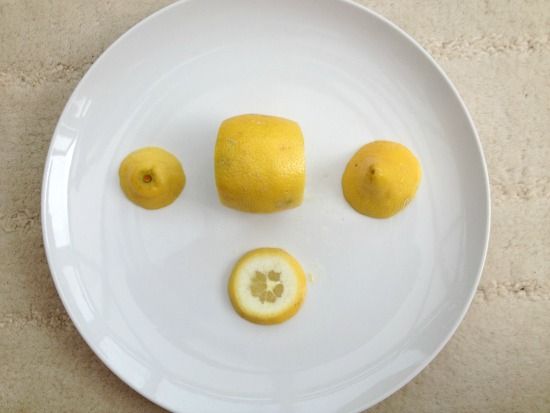
 photo frozen_zps4f1727a4.jpg

 1. Cut the ends off of your lemon. You have to cut quite a way in as I made the mistake of cutting too little and ending up with more rind than flesh.
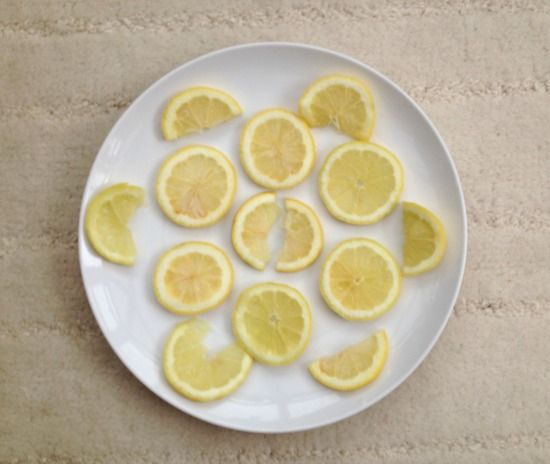
 photo slicey_zpsf4694dc1.jpg

2. Slice your lemons. I mixed it up between full slices and half slices, depending on what I'll need and what glasses I'll be drinking out of.
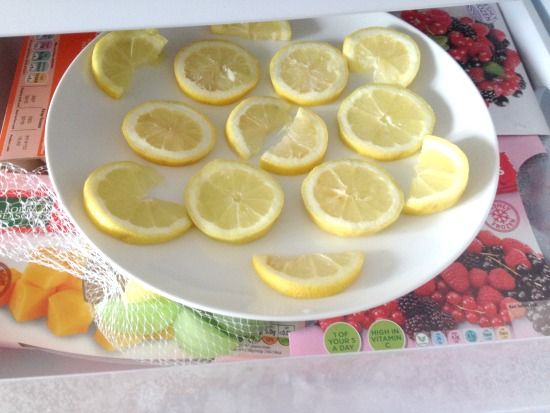
 photo slice_zpsced0d6d8.jpg

3. Put on a plate or something flat and put the them in the freezer. You need to do this instead of putting the slices straight into a plastic bag so they don't all stick together. They'd be a nightmare to separate!

4. After a few hours you can put them into plastic bags and you'll have individual lemon slices ready to pop into your water, tea or anything else!

I hope this helped someone and it's not just me being slow on the bandwagon! It means I no longer have to worry about my fruit going off in the fridge!

Have you got any kitchen tips for me?

   photo Signature2_zps034d2f77.jpg

Wednesday, 8 January 2014

Breakfast Porridge "recipe"

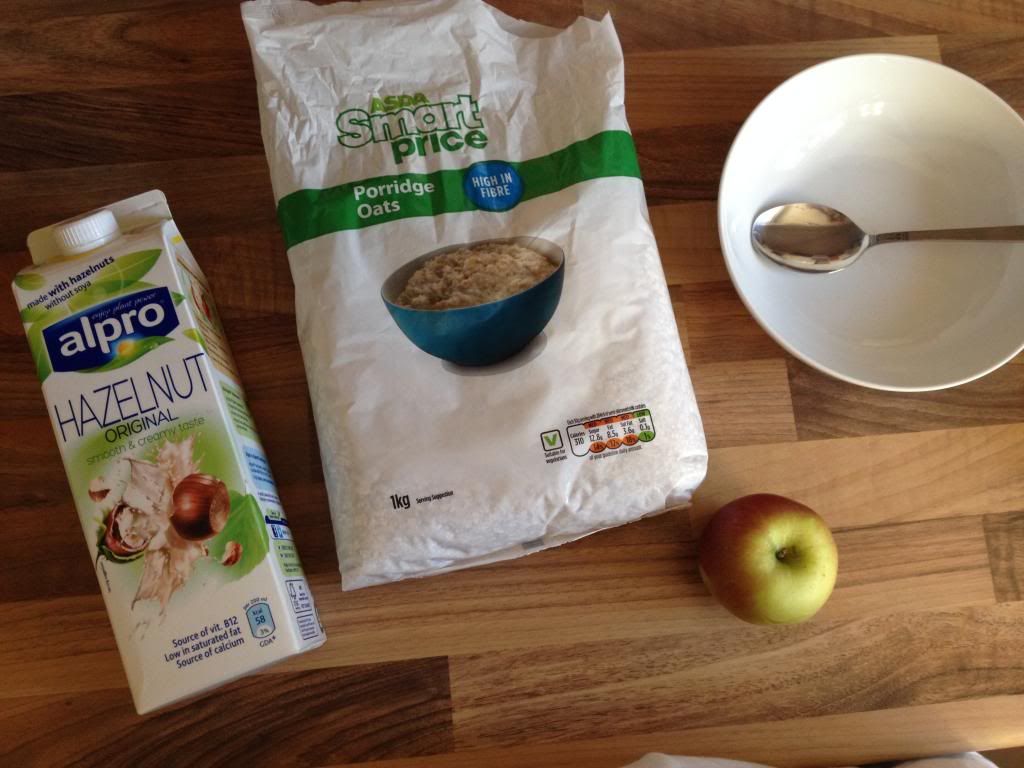
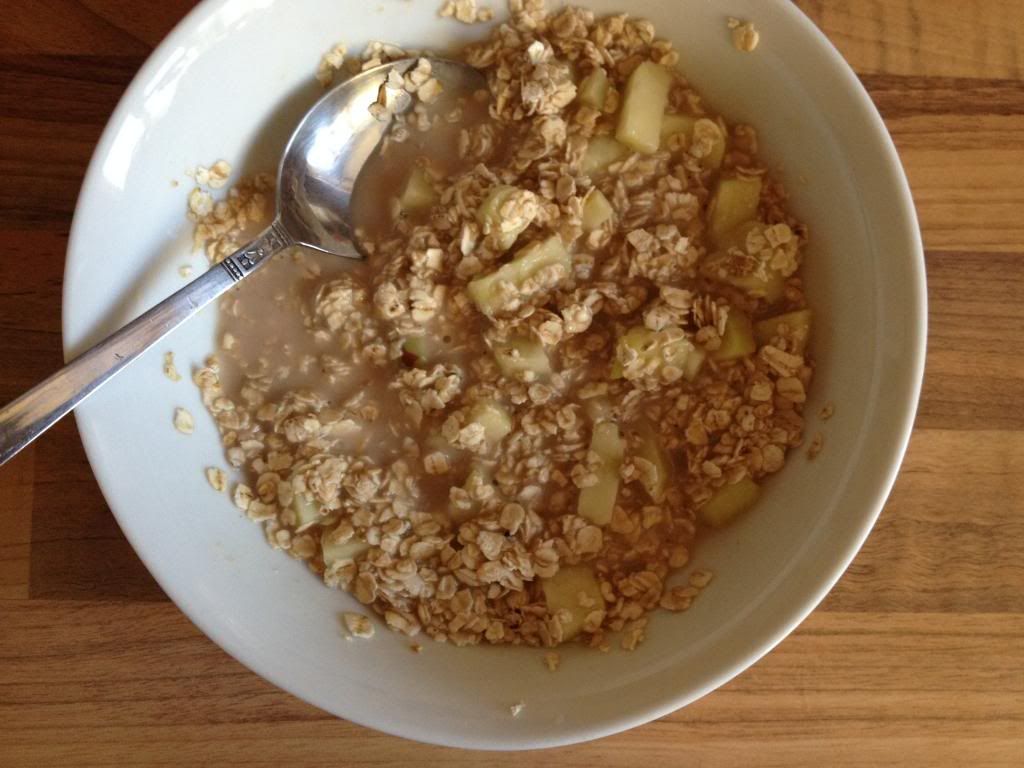
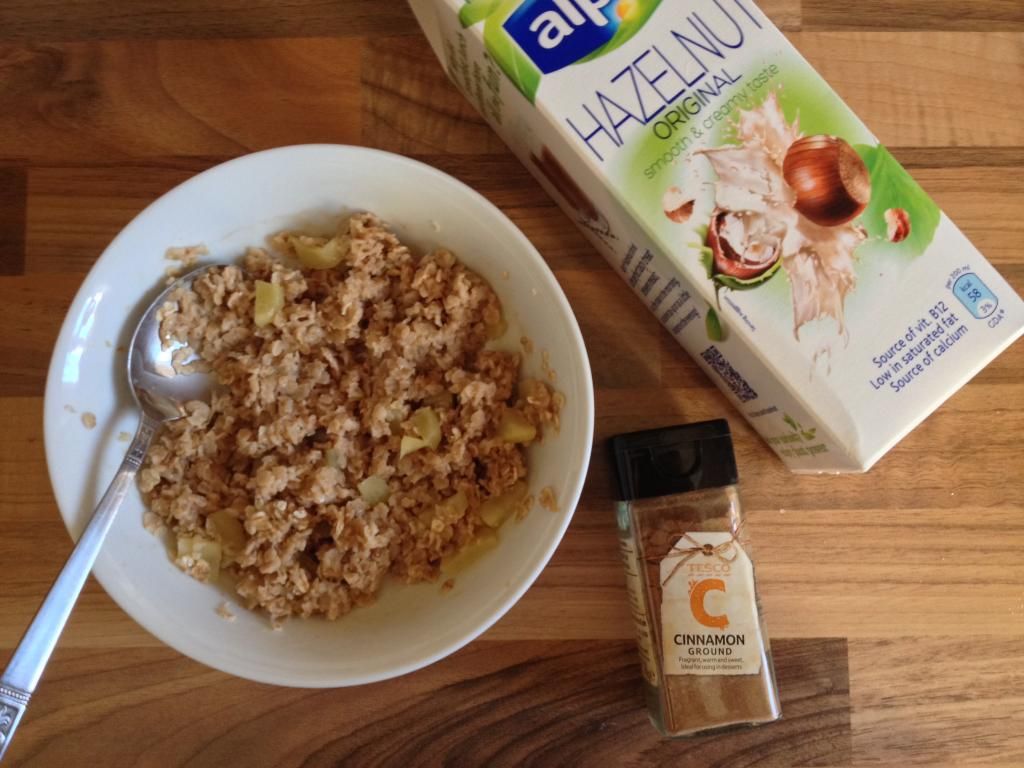
I thought this was a very apt post for the New Year. A fair few people will be on a health kick and this is my favourite (and good for me!) breakfast. Porridge with hazelnut milk and apples! The hazelnut milk adds another flavour and the apples go all soft and gooey...delicious!
There are various ways you can make this breakfast. You can obviously switch in different fruits, types of milk and cooking methods depending on your preference but this is the way I like to make it.
I've called this a recipe but really it's more of a 'throw some ingredients in a bowl and hope for the best' type thing!

 photo photo2_zps96df4d07.jpg

 photo photo3_zps12bd2426.jpg 

 photo photo4_zps0b901a59.jpg 

 photo image_zps36bc85aa.jpeg 

 photo image1_zps1400ca41.jpeg

Ingredients:
Rolled Oats
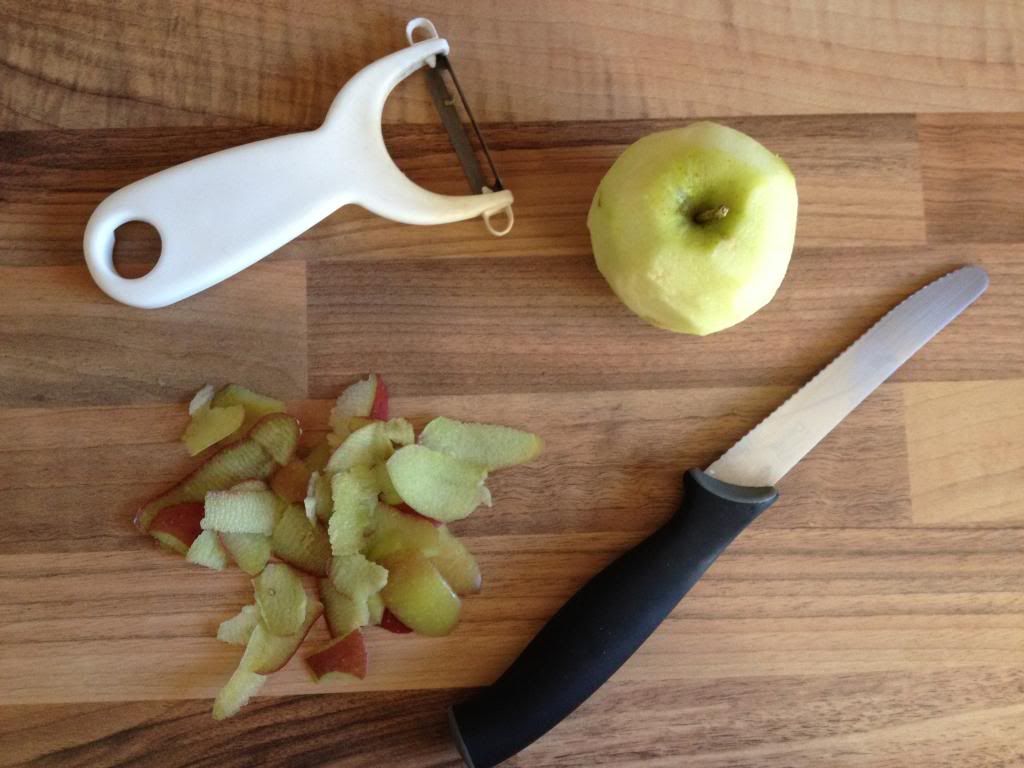
Apple/any fruit
Type of milk
(Optional) Cinnamon, ginger etc

Steps:
1. Add your porridge oats to your bowl, depending on how much you like. I usually fill the bottom of my bowl.
2. Add your type of preferred milk. Here I'm using hazelnut milk but you could use any sort of milk. I fill it with the same amount I'd use if it was cereal.
3. Add in your chopped apple or other fruit/s. I sometimes swap in banana.
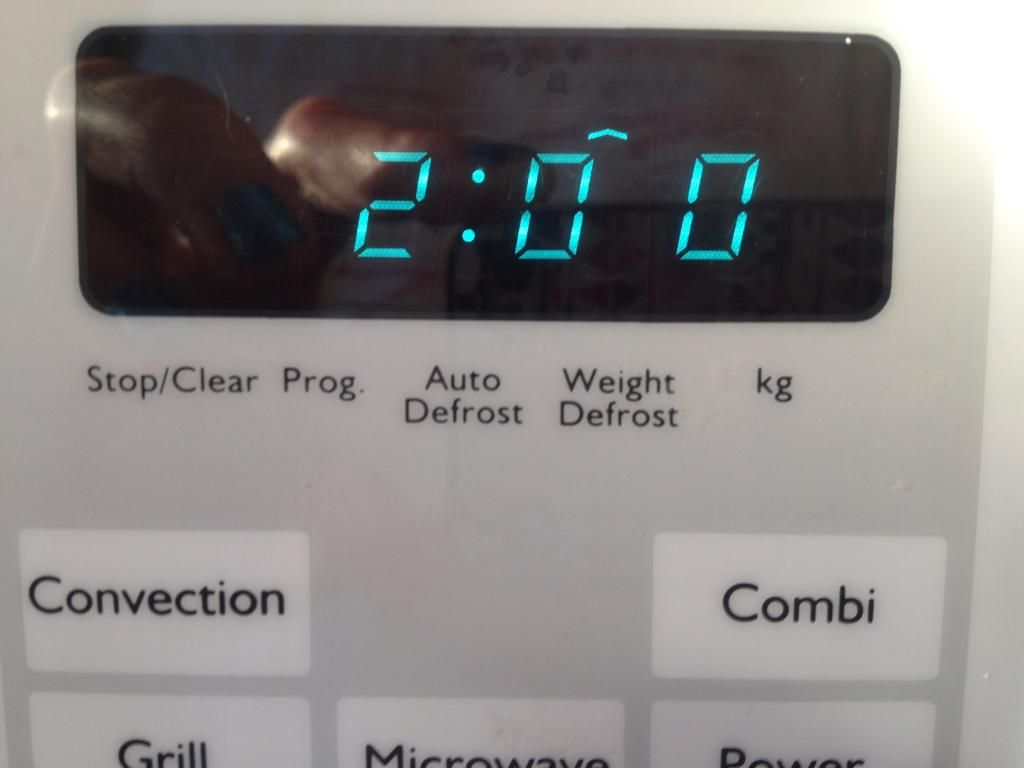
4. Put in the microwave for 2 minutes (I use the microwave because I don't want to stand over the hob and it saves time but the apple goes gooey-er and the porridge less dried if you do it over the hob).
5. Add extra milk and flavouring (I like cinnamon and sugar) to taste.

And there it is! 5 simple steps to a tasty and healthy breakfast. Tweet me @alexgeorgie_ if you try this! Do you have any tips and tricks for a healthy breakfast?

Signature photo Signature_zps8d23ffc3.jpg

Friday, 14 June 2013

How I Deep Clean My Brushes

Hey!

Deep Clean Brushes
Before: Dirty orange tinted brushes

To be quite honest, before I started this blog I had no interest in brushes. Make up went on well with my fingers, in fact I can do one hell of a smoky eye with my hands so why would I buy/need a brush?

However once I started blogging, I found myself lusting over brushes. I did own some brushes, a few Clinique ones from when I had my prom make up done, a few cast offs from my mum, but like I said I had no interest in them.
When my girl friends bought me the Real Techniques Core Collection and Powder brush for my birthday however, I was  thrilled! Now I intend to build up my collection but before that my current ones needed cleaning. Being new to the brush world, I was both apprehensive and scared to even put my brushes near water for fear of ruining them.  Also I had no idea what to wash them with. After some research, I found mild shampoo and hand washes seemed to be the general consensus (if not a proper brush cleaner).

Deep Clean Brushes
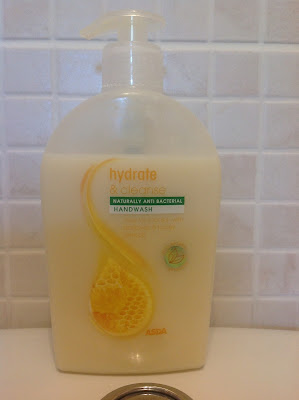
Asda's own Hydrate and Cleanse handwash (the honey one)

This was the only hand wash I had to hand (geddit? ;)) so I decided to use that. Being honey, I hoped that it wouldn't be too harsh on the brushes and the anti bacterial part of it reassured me it would get rid of all the nasty bacteria. I don't believe either of those aspects are a necessity, as long as you aren't using anything too harsh, it should be fine.

I was unable to get pictures of the process I used (balancing a camera with one hand, running water and trying to rinse a brush seemed to be asking for trouble) so I'll do my best to explain it in easy steps.

1. Dampen brush with warm water
2. Pump your cleaner of choice onto the brush
3. Swirl on the palm of your hand to create a lather
4. Repeat if necessary (needed for my buffing brush)
5. Rinse (I found cold water got rid of the foam best)
6. Squeeze out majority of water, reshape and leave to dry (as you can see, mine are on a window sill on a fetching Daisy Duck flannel)

Deep Clean Brushes


And that's it! Easy peasy! While researching I did see many warnings not to get water on the ferrule (the metal part connecting the bristles to the handle) as it may make your brush moult so be careful of that!

Hope this post was helpful! What do you use to wash your brushes?


Related Posts Plugin for WordPress, Blogger...